
Table of Contents
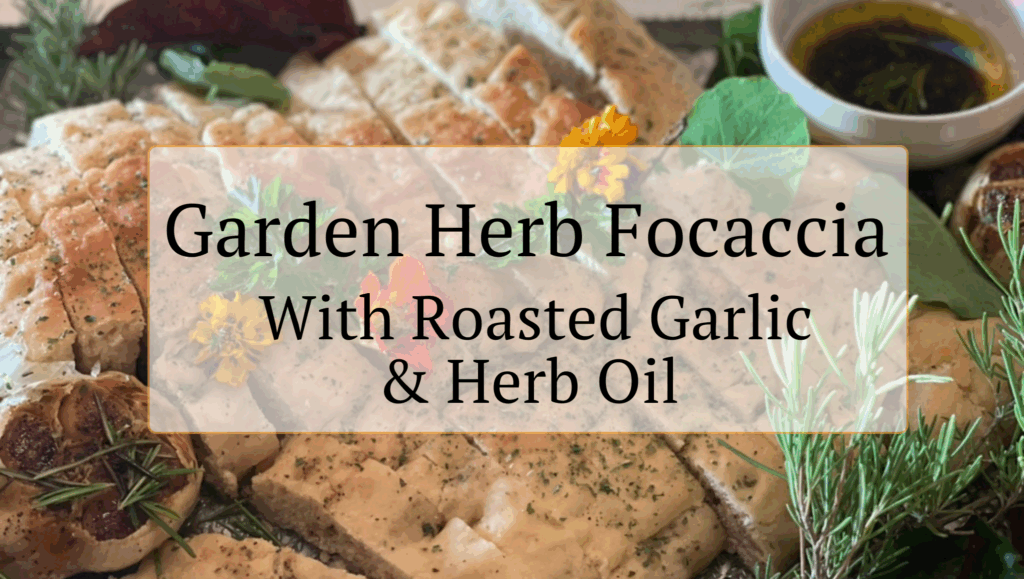
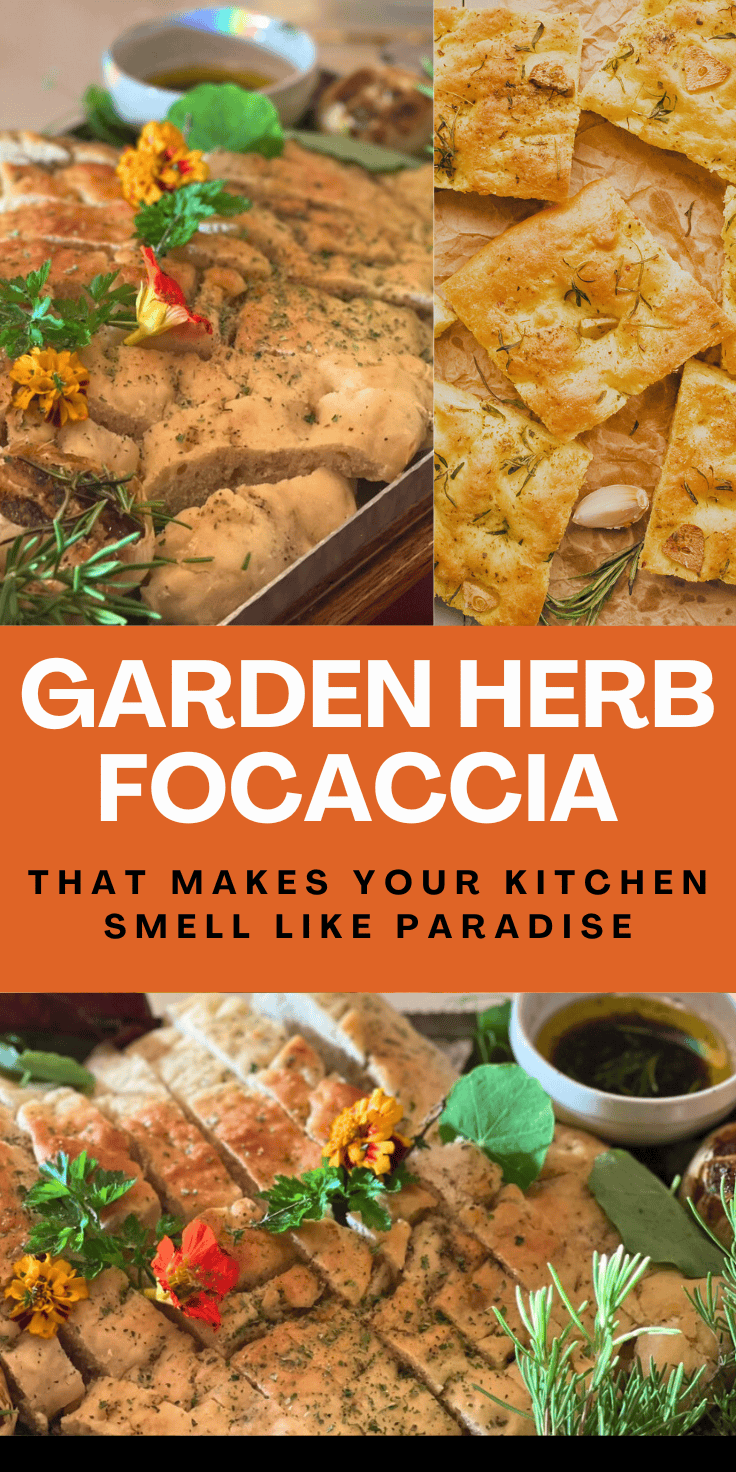
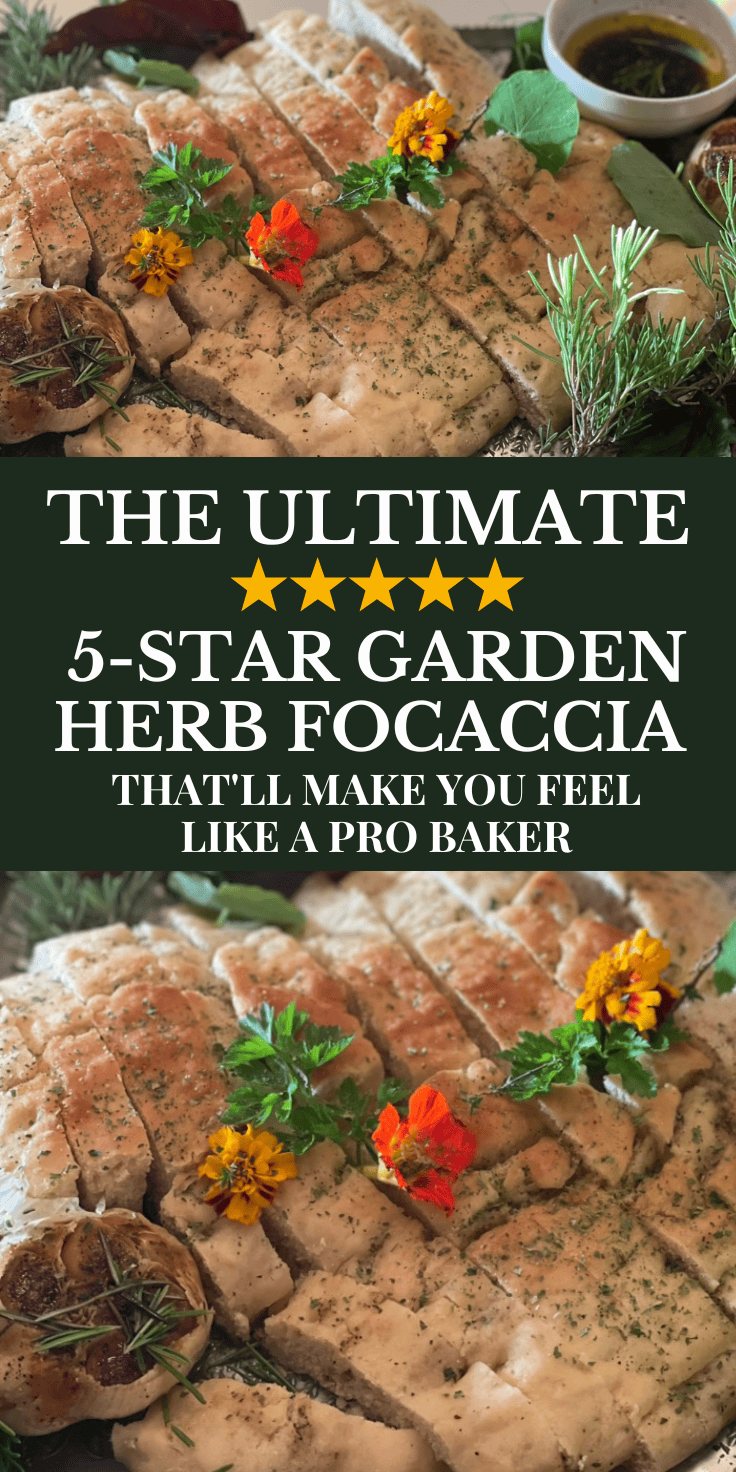
Picture this: you walk into your kitchen and are immediately greeted by the intoxicating aroma of golden, bubbling focaccia emerging from your oven. The edges are perfectly crispy, the surface is dimpled with pools of fragrant herb oil, and colorful edible flowers dance across the top like confetti on freshly fallen snow. This isn’t just bread – it’s edible art that happens to taste like heaven! Every single person who tries this focaccia asks for the recipe, and honestly, I don’t blame them.
What makes this focaccia absolutely extraordinary is the game-changing combination of high-hydration dough and overnight cold fermentation – the same techniques used by Italy’s most celebrated bakeries. This recipe transforms a simple flatbread into something so spectacular that your friends will be convinced you’ve been secretly attending culinary school. The prep time is just 15 minutes of active work, but the 18-72 hour cold fermentation is where the magic happens, developing complex flavors that simply can’t be rushed.
Today, you’re going to master the art of creating restaurant-quality focaccia that’s simultaneously foolproof and absolutely stunning. We’ll explore the science behind why this high-hydration method works so brilliantly, dive into the secrets of professional herb oil preparation, and discover how roasted garlic transforms this bread from good to absolutely unforgettable. Get ready to become the person everyone calls when they need something impressive for dinner parties!
What You’ll Need
I’ve learned that the secret to consistently amazing focaccia lies in using the right tools and the finest ingredients you can find. While you don’t need fancy equipment, a few key items will make the difference between good focaccia and the kind that makes people beg for your recipe.
Essential Ingredients
- High-quality bread flour (King Arthur is my go-to)
- Premium extra-virgin olive oil (this is where you splurge!)
- Diamond Crystal kosher salt (the large flakes distribute better)
- Instant yeast for reliability
- Fresh herbs (rosemary, thyme, oregano)
- Whole garlic bulbs for roasting
- Flaky sea salt for finishing (Maldon is perfection)
Special Equipment
- Digital kitchen scale (game-changer for consistency)
- Metal 9×13 inch baking pan (conducts heat better than glass)
- Large mixing bowl for the high-hydration dough
- Bench scraper or large spoon for mixing
Pantry Staples
- Honey (feeds the yeast and improves browning)
- Fresh lemon juice for the herb oil
- Red pepper flakes (optional but adds wonderful warmth)
Optional Enhancements
- Edible flowers for stunning presentation
- Different herb combinations for seasonal variations
- Roasted vegetables for topped variations
High-Hydration Dough – The Heart of Perfect Focaccia
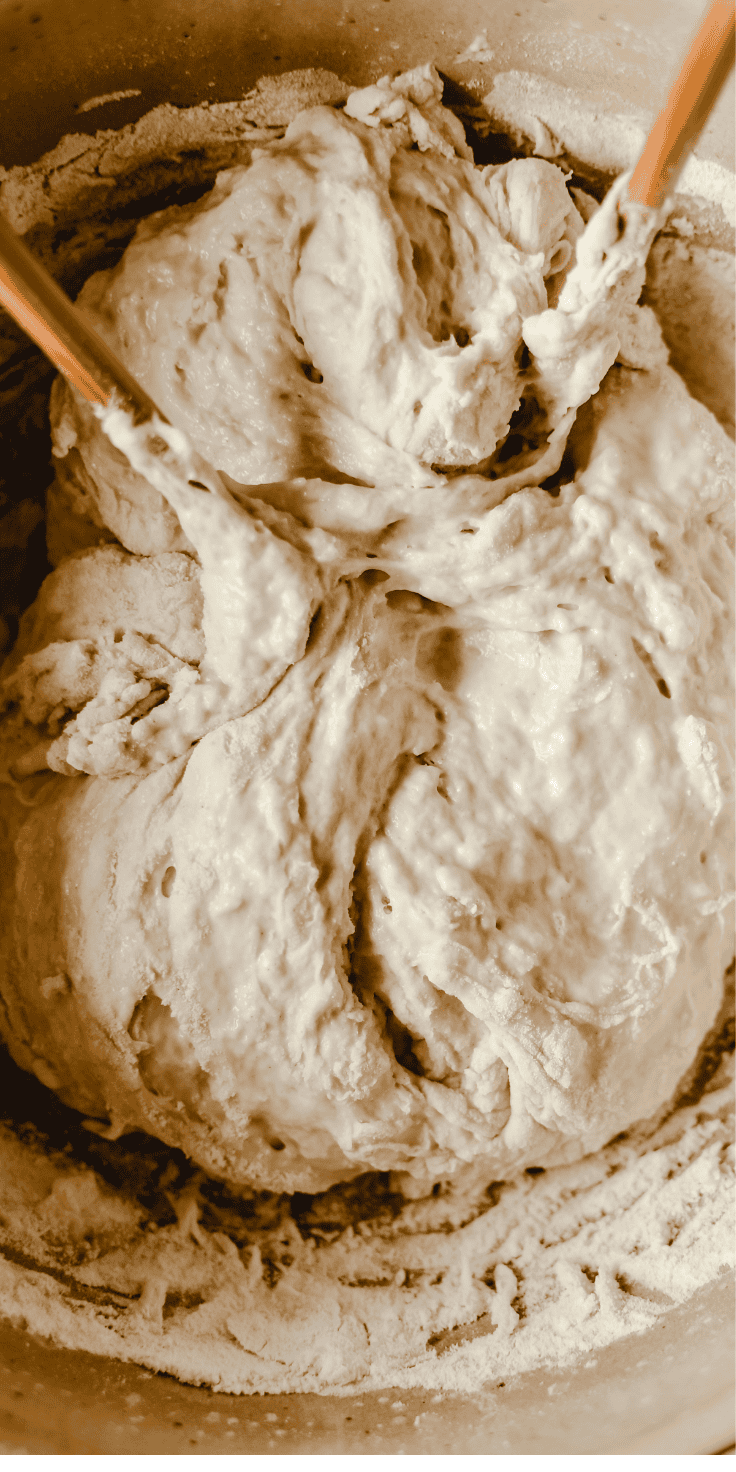
The moment I discovered high-hydration focaccia dough, everything changed. This technique uses 93% hydration – meaning the water weighs 93% as much as the flour – creating an incredibly wet, almost soup-like mixture that seems impossible to work with at first. But here’s the beautiful secret: this seemingly chaotic dough transforms into the most perfectly textured focaccia you’ve ever experienced, with a crispy golden exterior that gives way to an impossibly light, airy interior dotted with irregular holes that catch every drop of herb oil.
Benefits of High-Hydration Technique
This method creates superior texture through steam generation during baking, resulting in the signature open crumb structure and crispy crust. The technique also reduces the risk of dense, heavy bread since the wet dough is actually harder to overwork than traditional stiff doughs.
Mastering the No-Knead Method
Success comes from the folding technique: four sets of gentle stretches and folds at 15-minute intervals build gluten strength without overworking. Look for the dough to become smoother and more cohesive with each fold, and don’t worry if it seems impossibly sticky at first.
Flavor Development Through Cold Fermentation
The 18-72 hour refrigeration allows enzymes to break down starches into fermentable sugars while developing complex flavors. This extended fermentation also makes the dough more digestible and creates the depth of flavor that separates homemade focaccia from bakery-quality bread.
Step-by-Step Cooking Method
Don’t let the word “fermentation” intimidate you – this process is incredibly forgiving and actually makes the dough easier to handle. The beauty of this method lies in its flexibility: you can start the dough when it’s convenient for you, and it will patiently wait in your refrigerator until you’re ready to bake. The most challenging part is simply waiting for the magic to happen!
How to Create This Masterpiece
Garden Herb Focaccia with Roasted Garlic & Herb Oil
Equipment
- Digital kitchen scale highly recommended for best results
- Large mixing bowl 4+ quarts
- Medium mixing bowl for herb oil
- Metal 9×13 inch baking pan metal conducts heat better than glass
- Bench scraper or large spoon for mixing
- Clean kitchen towel
- Plastic wrap
- Small saucepan for herb oil
- Fine mesh strainer optional
- Sharp paring knife
- Aluminum foil for roasting garlic
- Small serving bowls for oil
Ingredients
High-Hydration Focaccia Dough
- 400 g 3⅓ cups bread flour (King Arthur recommended)
- 375 g 1⅝ cups lukewarm water
- 7 g 2¼ tsp instant yeast
- 10 g 2 tsp Diamond Crystal kosher salt
- 30 ml 2 tbsp extra-virgin olive oil
- 5 g 1 tsp honey
Roasted Garlic
- 2 whole garlic bulbs
- 45 ml 3 tbsp extra-virgin olive oil
- Pinch of sea salt
Herb Dipping Oil
- 120 ml ½ cup premium extra-virgin olive oil
- 3 garlic cloves thinly sliced
- 15 g 2 tbsp fresh rosemary, finely chopped
- 8 g 1 tbsp fresh thyme leaves
- 8 g 1 tbsp fresh oregano, chopped
- 2 g ½ tsp red pepper flakes (optional)
- 3 g ½ tsp sea salt
- 15 ml 1 tbsp fresh lemon juice
For Finishing
- Flaky sea salt Maldon preferred
- Fresh herb sprigs for garnish
- Edible flowers optional but stunning
- Cracked black pepper
Instructions
Day 1: High-Hydration Focaccia Dough
- In your large mixing bowl, whisk together flour, salt, and yeast until evenly distributed.
- Add water, honey, and 2 tablespoons olive oil to the flour mixture.
- Using a bench scraper or large spoon, mix until you have a very shaggy, wet dough (it will look messier than traditional bread dough – this is correct!).
- Let dough rest 15 minutes to allow flour to hydrate.
- Wet your hand and grab one side of the dough. Stretch it up and fold it over to the opposite side.
- Rotate bowl 90° and repeat the folding process 3 more times (4 total folds).
- Rest 15 minutes, then repeat the entire folding sequence 3 more times (4 total sets of folds).
- Generously oil a large bowl and transfer dough to oiled bowl.
- Cover tightly with plastic wrap and refrigerate 18-72 hours (24 hours minimum for best flavor).
Day 2: Roasted Garlic
- Preheat oven to 400°F (200°C).
- Cut the top ¼ inch off each garlic bulb to expose the individual cloves.
- Drizzle each bulb with olive oil and sprinkle with a pinch of salt.
- Wrap each bulb individually in aluminum foil, sealing tightly.
- Roast for 40-45 minutes until cloves are golden brown and soft when pressed.
- Remove from oven and let cool completely.
- Once cool, gently squeeze the roasted cloves out of their skins. Set aside.
Herb Dipping Oil
- In a small saucepan, gently warm olive oil over low heat (do not let it simmer).
- Add sliced garlic and cook for 2-3 minutes until fragrant but not browned.
- Remove from heat immediately and stir in fresh rosemary, thyme, oregano, red pepper flakes, and salt.
- Let cool completely to room temperature, then stir in fresh lemon juice.
- Strain through fine mesh if desired for smooth oil, or leave rustic with herbs. Set aside.
Final Assembly and Baking
- Remove dough from refrigerator 30 minutes before shaping to take off the chill.
- Generously oil your metal 9×13 inch baking pan with 2-3 tablespoons olive oil.
- Turn the cold dough into the oiled pan – it will be very soft and extensible.
- Gently stretch dough to fit the pan, creating dimples all over with oiled fingertips.
- If dough springs back, let rest 15 minutes and try again.
- Cover loosely with a kitchen towel and let rise 45-60 minutes until puffy and jiggly.
- Meanwhile, preheat oven to 450°F (230°C) – high heat is essential for proper crust.
- Just before baking, dimple the dough all over again with oiled fingertips, creating deep wells.
- Drizzle generously with herb oil (about 3 tablespoons), allowing it to pool in the dimples.
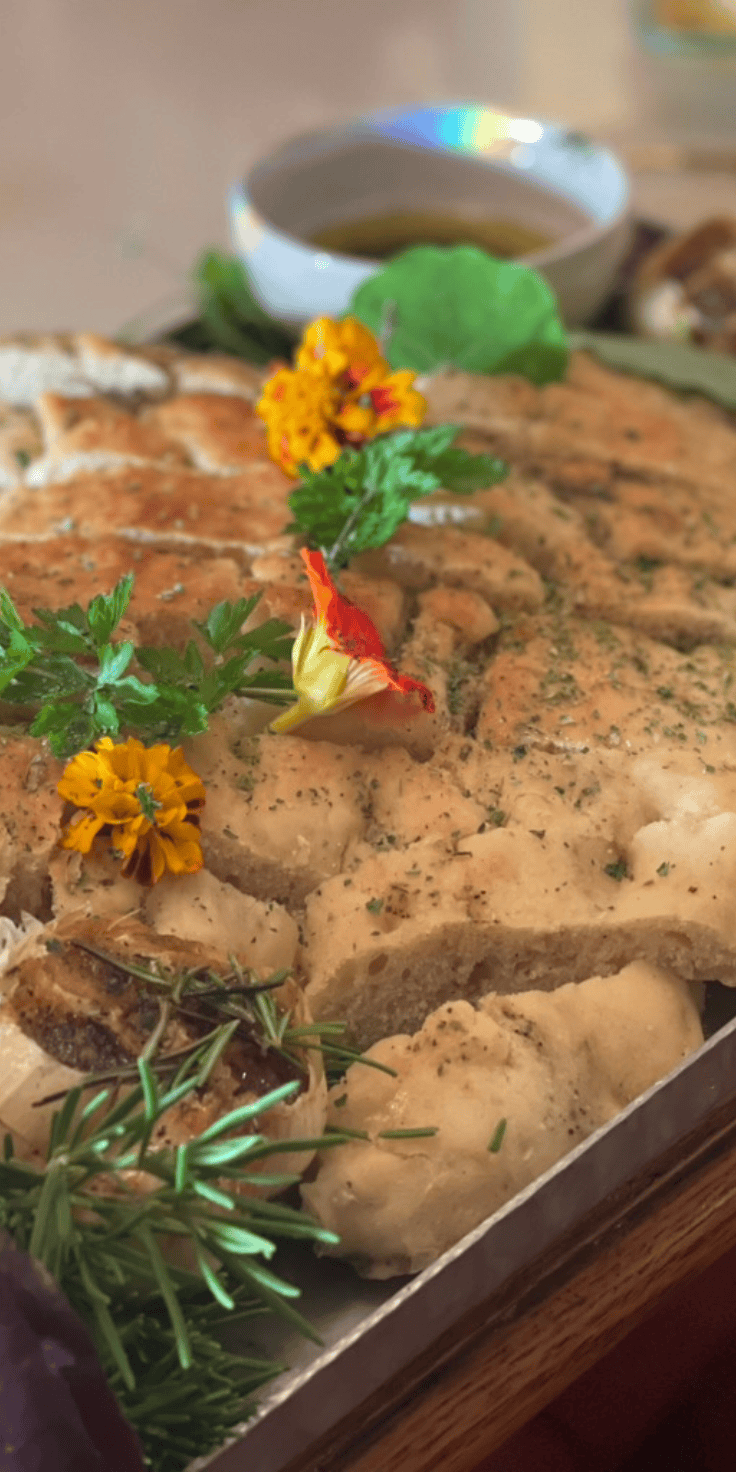
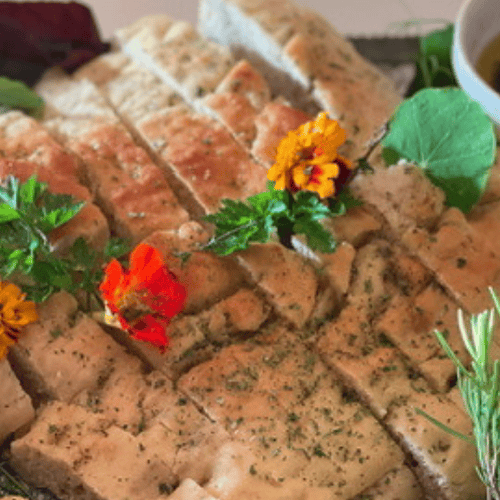
- Scatter roasted garlic cloves, fresh herb sprigs, and flaky salt over the surface.
- Add edible flowers if using.
- Bake 25-30 minutes until deep golden brown with crispy edges and internal temperature reaches 200°F (93°C).
- Cool in pan for 10 minutes to set the structure.
- Transfer to cutting board and drizzle with additional herb oil while still warm.
- Sprinkle with more flaky salt and cracked black pepper.
- Serve warm with remaining herb oil for dipping.
Notes
Nutrition
- Day 1 – Dough Creation (5 minutes active time): Mix the incredibly wet dough, perform the folding sequence, then refrigerate for 18-72 hours
- Day 2 – Garlic Roasting (45 minutes hands-off): Roast whole garlic bulbs until golden and soft
- Herb Oil Preparation (10 minutes): Create the aromatic oil that makes this focaccia unforgettable
- Final Assembly (15 minutes): Shape, top, and prepare for baking
- Baking to Perfection (30 minutes): High-heat baking creates the signature golden crust
Total Time: 18-72 hours (mostly hands-off) | Active Time: 45 minutes | Serves: 8-10
Pro Tips and Variations
After making this focaccia countless times and troubleshooting every possible scenario, I’ve discovered some game-changing techniques that guarantee success every single time. The most important lesson? Trust the process, even when the dough seems too wet or the fermentation time feels too long – these are the very factors that create the extraordinary results.
Storage and Make-Ahead Strategies
Focaccia tastes best within 4 hours of baking but stays fresh wrapped in a kitchen towel for up to 2 days. Reheat in a 350°F oven for 5-7 minutes to restore the crispy exterior. The herb oil keeps refrigerated for a week and actually improves in flavor.
Creative Variations and Substitutions
Transform this into gluten-free focaccia using a high-quality 1:1 flour blend, or create seasonal versions with autumn herbs like sage and thyme. Vegan versions work beautifully – simply omit the honey or substitute with maple syrup.

Serving Suggestions and Pairings
Serve alongside soups, use as a base for sandwiches, or present as an appetizer with the herb oil for dipping. The bread pairs beautifully with aged cheeses, cured meats, or simply good butter and flaky salt.
Troubleshooting Common Challenges
Even the most experienced bakers encounter hiccups, and focaccia-making is no exception! The good news is that this high-hydration method is remarkably forgiving, and most issues have simple solutions.
Dough Too Sticky to Handle: This is normal! Use well-oiled hands and work quickly. The stickiness creates the desired texture.
Pale, Soft Crust: Increase oven temperature to 450°F and ensure you’re using a metal pan for better heat conduction.
Dense Texture: Usually caused by insufficient fermentation time or using too much flour. Trust the wet dough consistency.
Herb Oil Separating: This is normal – simply stir before serving or strain for a smoother presentation.
Toppings Burning: Place herb oil in the dimples rather than directly on raised surfaces, and add delicate herbs only in the final 10 minutes of baking.
Nutritional Benefits and Dietary Considerations
This focaccia delivers impressive nutritional benefits alongside its incredible flavor, making it a bread you can feel genuinely good about serving to your family. The extended fermentation process partially breaks down gluten proteins, improving digestibility, while the generous use of high-quality olive oil provides heart-healthy monounsaturated fats and powerful antioxidants.
The fresh herbs aren’t just for flavor – rosemary contains compounds that may support memory and circulation, while thyme and oregano offer anti-inflammatory properties. The roasted garlic provides prebiotics that support gut health, and the slow fermentation creates beneficial compounds that aid digestion. Each serving provides complex carbohydrates for sustained energy, healthy fats from the olive oil, and a variety of vitamins and minerals from the fresh herbs. For those following Mediterranean-style eating patterns, this focaccia perfectly embodies the principles of using high-quality, minimally processed ingredients that nourish both body and soul.
Cultural Context and Recipe Heritage
Focaccia represents one of Italy’s most beloved culinary traditions, with roots stretching back to ancient Rome where similar flatbreads were baked on hot stones. The version we’re creating here honors the traditional Ligurian focaccia genovese while incorporating modern techniques that make exceptional results accessible to home bakers. In Genoa, focaccia isn’t just bread – it’s a way of life, eaten for breakfast, lunch, and dinner, often simply topped with coarse salt and the finest olive oil the region can produce.
This recipe bridges the gap between time-honored Italian techniques and contemporary food science, using high-hydration methods and extended fermentation that enhance both flavor and texture. While traditional recipes require vigorous hand-kneading and multiple rises, our approach achieves superior results through gentler handling and patience. The herb oil technique draws inspiration from both Italian tradition and modern culinary innovation, creating layers of flavor that transform simple bread into something truly extraordinary. Every bite connects you to centuries of Italian baking wisdom while delivering the consistent, restaurant-quality results that modern home cooks deserve.
Final Thoughts
This high-hydration focaccia recipe combines the best of traditional Italian techniques with modern food science to create bread that consistently earns rave reviews. The 93% hydration ratio and extended cold fermentation develop incredible flavors and textures that rival any professional bakery, while the no-knead method makes the process surprisingly approachable for bakers of all skill levels.
Don’t be afraid to make this recipe your own by experimenting with different herb combinations, seasonal toppings, or creative finishing touches. The beauty of focaccia lies in its versatility – once you master the basic technique, you’ll find endless ways to adapt it to your taste preferences and the ingredients you have on hand.
Ready to become the focaccia hero of your friend group? Give this recipe a try, snap a photo of your gorgeous results, and tag us on social media – we absolutely love seeing your creations! Don’t forget to rate the recipe and share your own tips and variations in the comments below. And if you’re hungry for more artisan bread recipes, be sure to subscribe to our newsletter for weekly baking inspiration delivered straight to your inbox.
Frequently Asked Questions
Can I make this focaccia without a kitchen scale?
While a kitchen scale ensures the most consistent results, you can use cup measurements: 3⅓ cups bread flour to 1⅝ cups water. However, flour can vary significantly in weight, so the dough texture is your best guide – it should be very wet and sticky, almost like a thick batter.
How long can I keep the dough in the refrigerator?
The dough actually improves with time! You can refrigerate it for up to 5 days, with peak flavor developing between 24-72 hours. After 3 days, the dough becomes even easier to handle and develops more complex, tangy flavors.
What if I don’t have instant yeast?
Active dry yeast works perfectly – just dissolve it in the lukewarm water with the honey for 5-10 minutes until foamy before adding to the flour. Use the same amount as specified for instant yeast.
Can I freeze the baked focaccia?
Absolutely! Wrap cooled focaccia tightly in plastic wrap, then foil, and freeze for up to 3 months. Thaw at room temperature and reheat in a 350°F oven for 8-10 minutes to restore the crispy texture.
My herb oil looks separated – is this normal?
Yes, this is completely normal! The oil and water-based components naturally separate. Simply stir gently before drizzling, or strain the oil if you prefer a smooth appearance. The flavor remains perfect either way.
Can I make this recipe gluten-free?
Yes! Use a high-quality 1:1 gluten-free flour blend and add 1 teaspoon xanthan gum if your blend doesn’t include it. The texture will be slightly different but still delicious. You may need to adjust the water slightly depending on your flour blend.
About The Author
Jahlila Bastian is a National Board-Certified Health & Wellness Coach (NBC-HWC), Certified Holistic Nutrition Coach (HNC), certified Weight Loss Specialist (WLS), certified Gut Health Nutrition Specialist (GHNS), and creator of The Tri-Sync Method™. She helps women optimize their health, improve energy, lose weight in a sustainable way, and rebuild self-confidence while creating greater balance in body, mind, and life. Her whole-self approach blends evidence-based nutrition with personalized coaching, guiding women in building a holistic wellness lifestyle system designed for long-term success.
If you’re ready to improve your energy and health, feel confident in your body, strengthen your overall well-being, and create lasting results… Book your free Discovery Consultation here.


Leave a Reply